Members
> Add people to your workspace and control what they can access.
Navigate to Workspace Settings > Members to manage your team.
Viewing members
The member list shows everyone in your workspace with their name, email, and role. The workspace owner is always listed and cannot be removed.
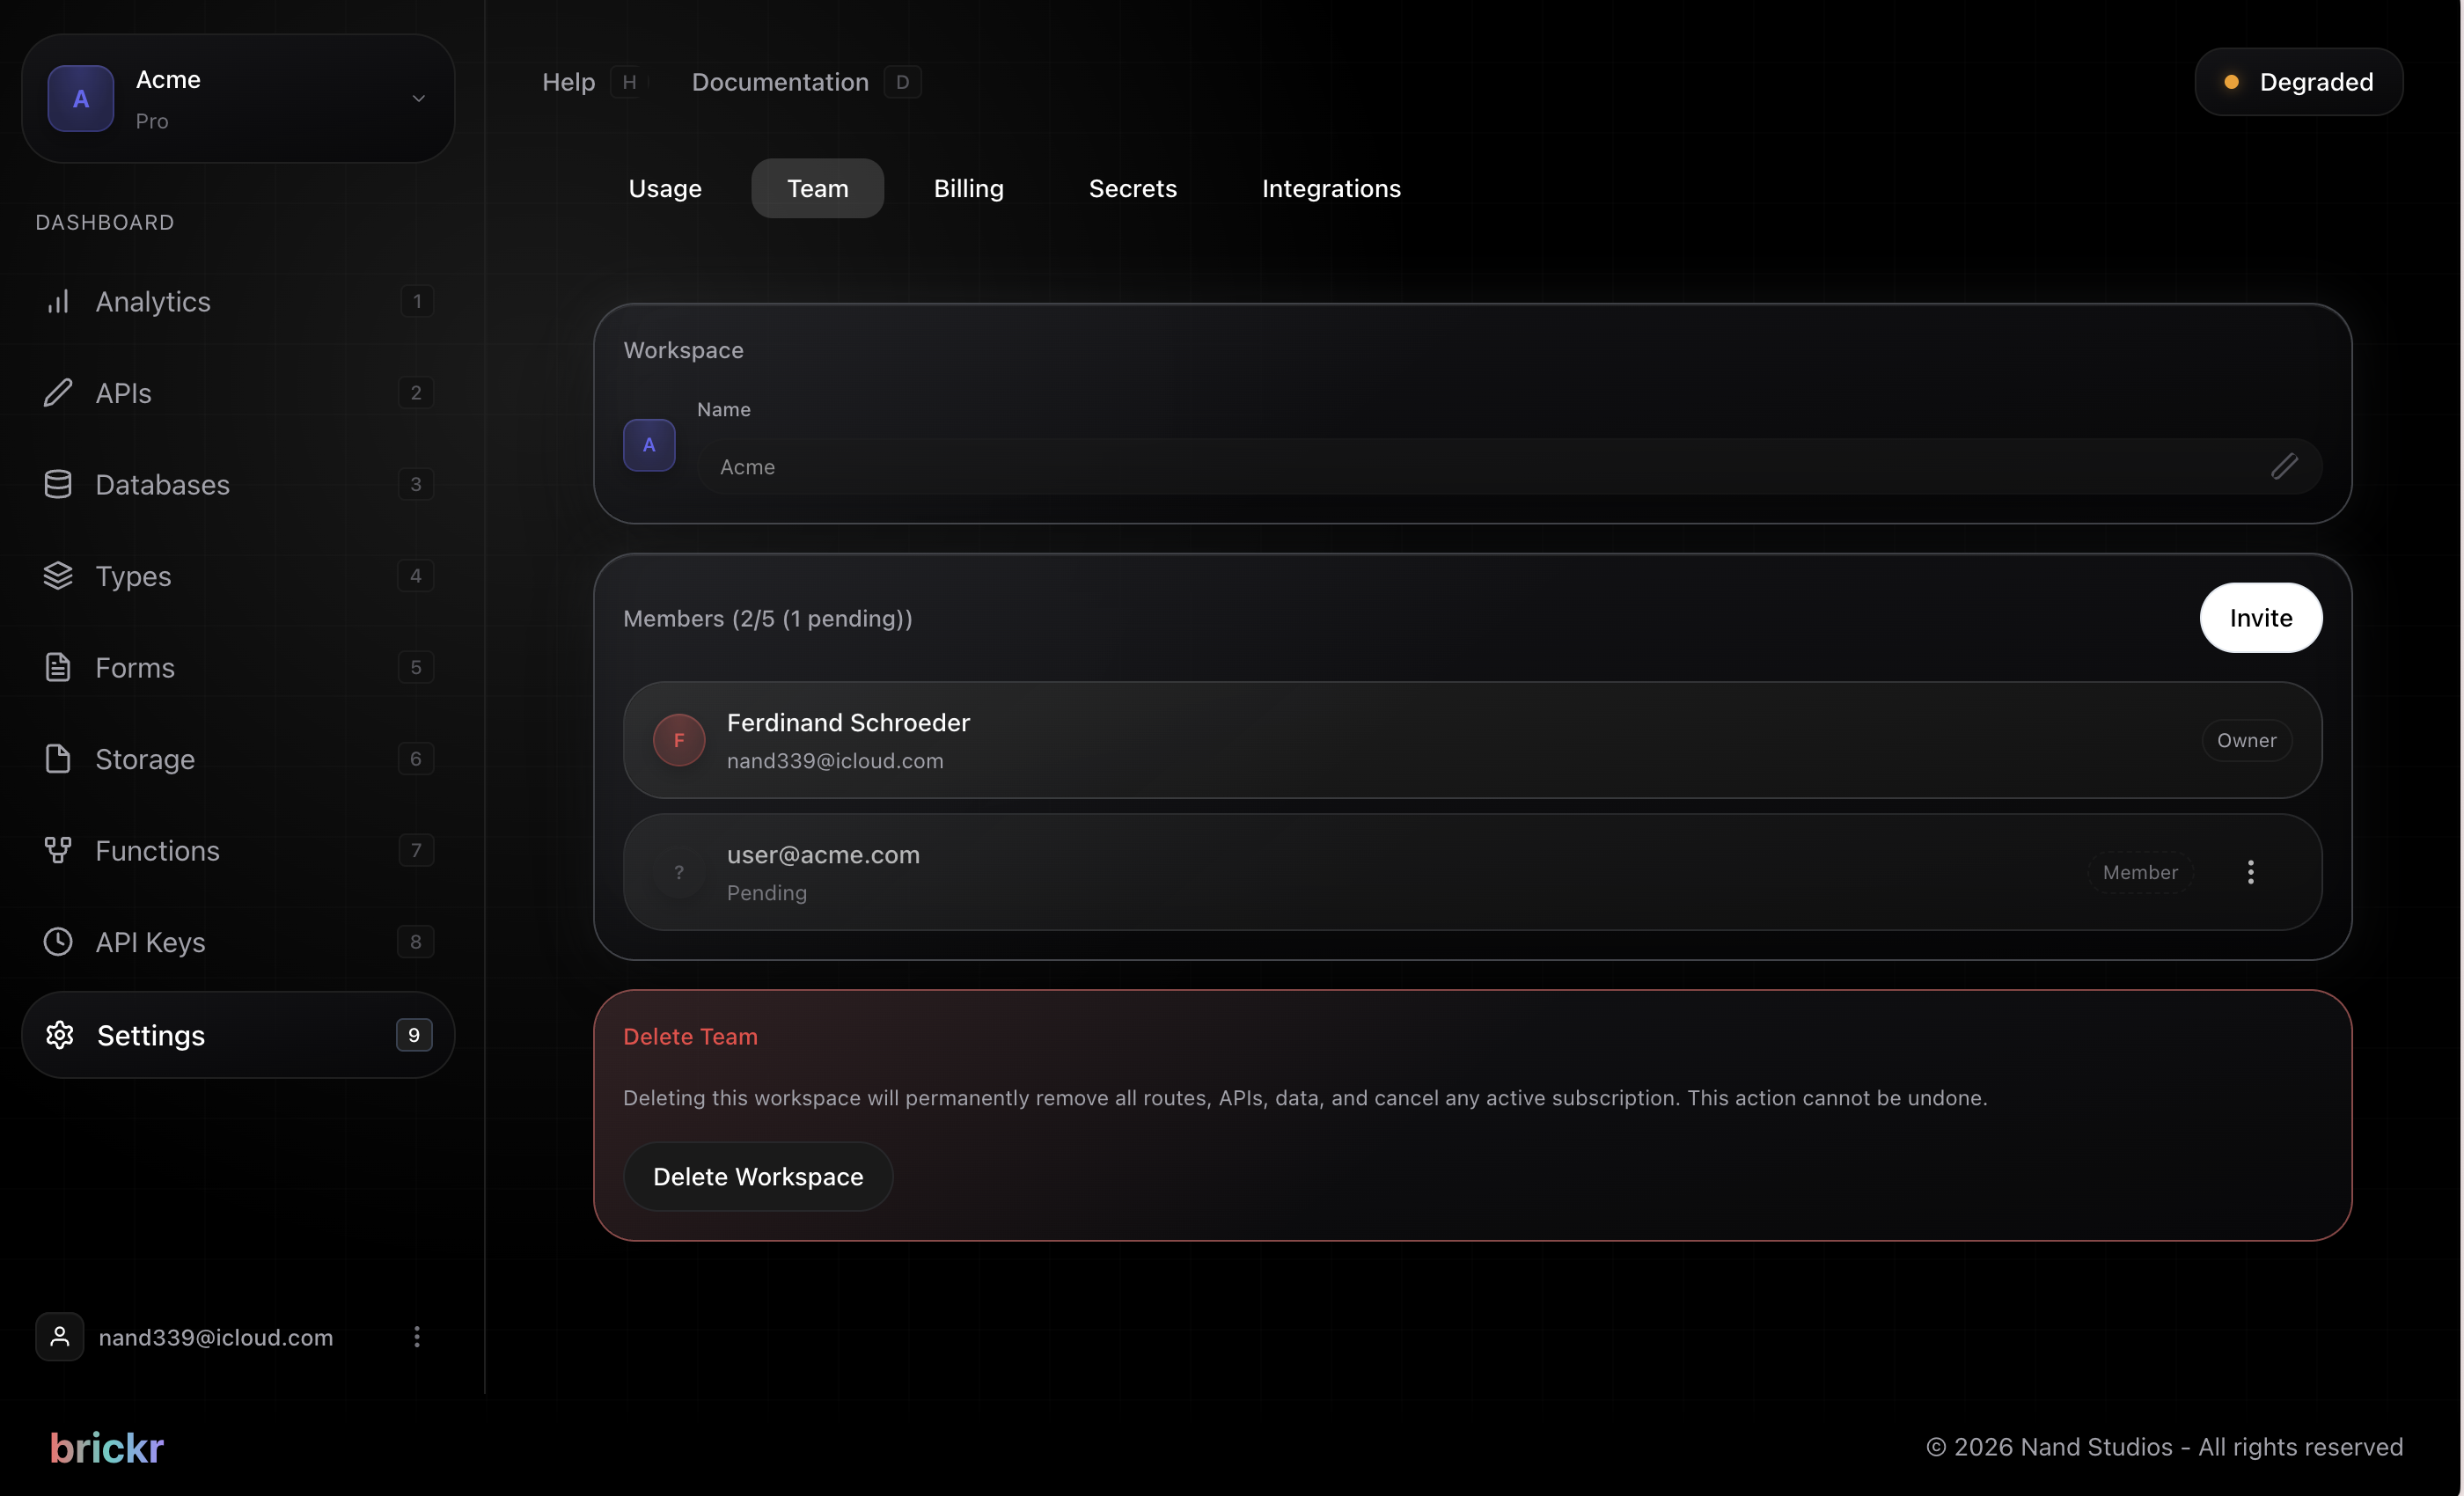
!Members list during onboarding
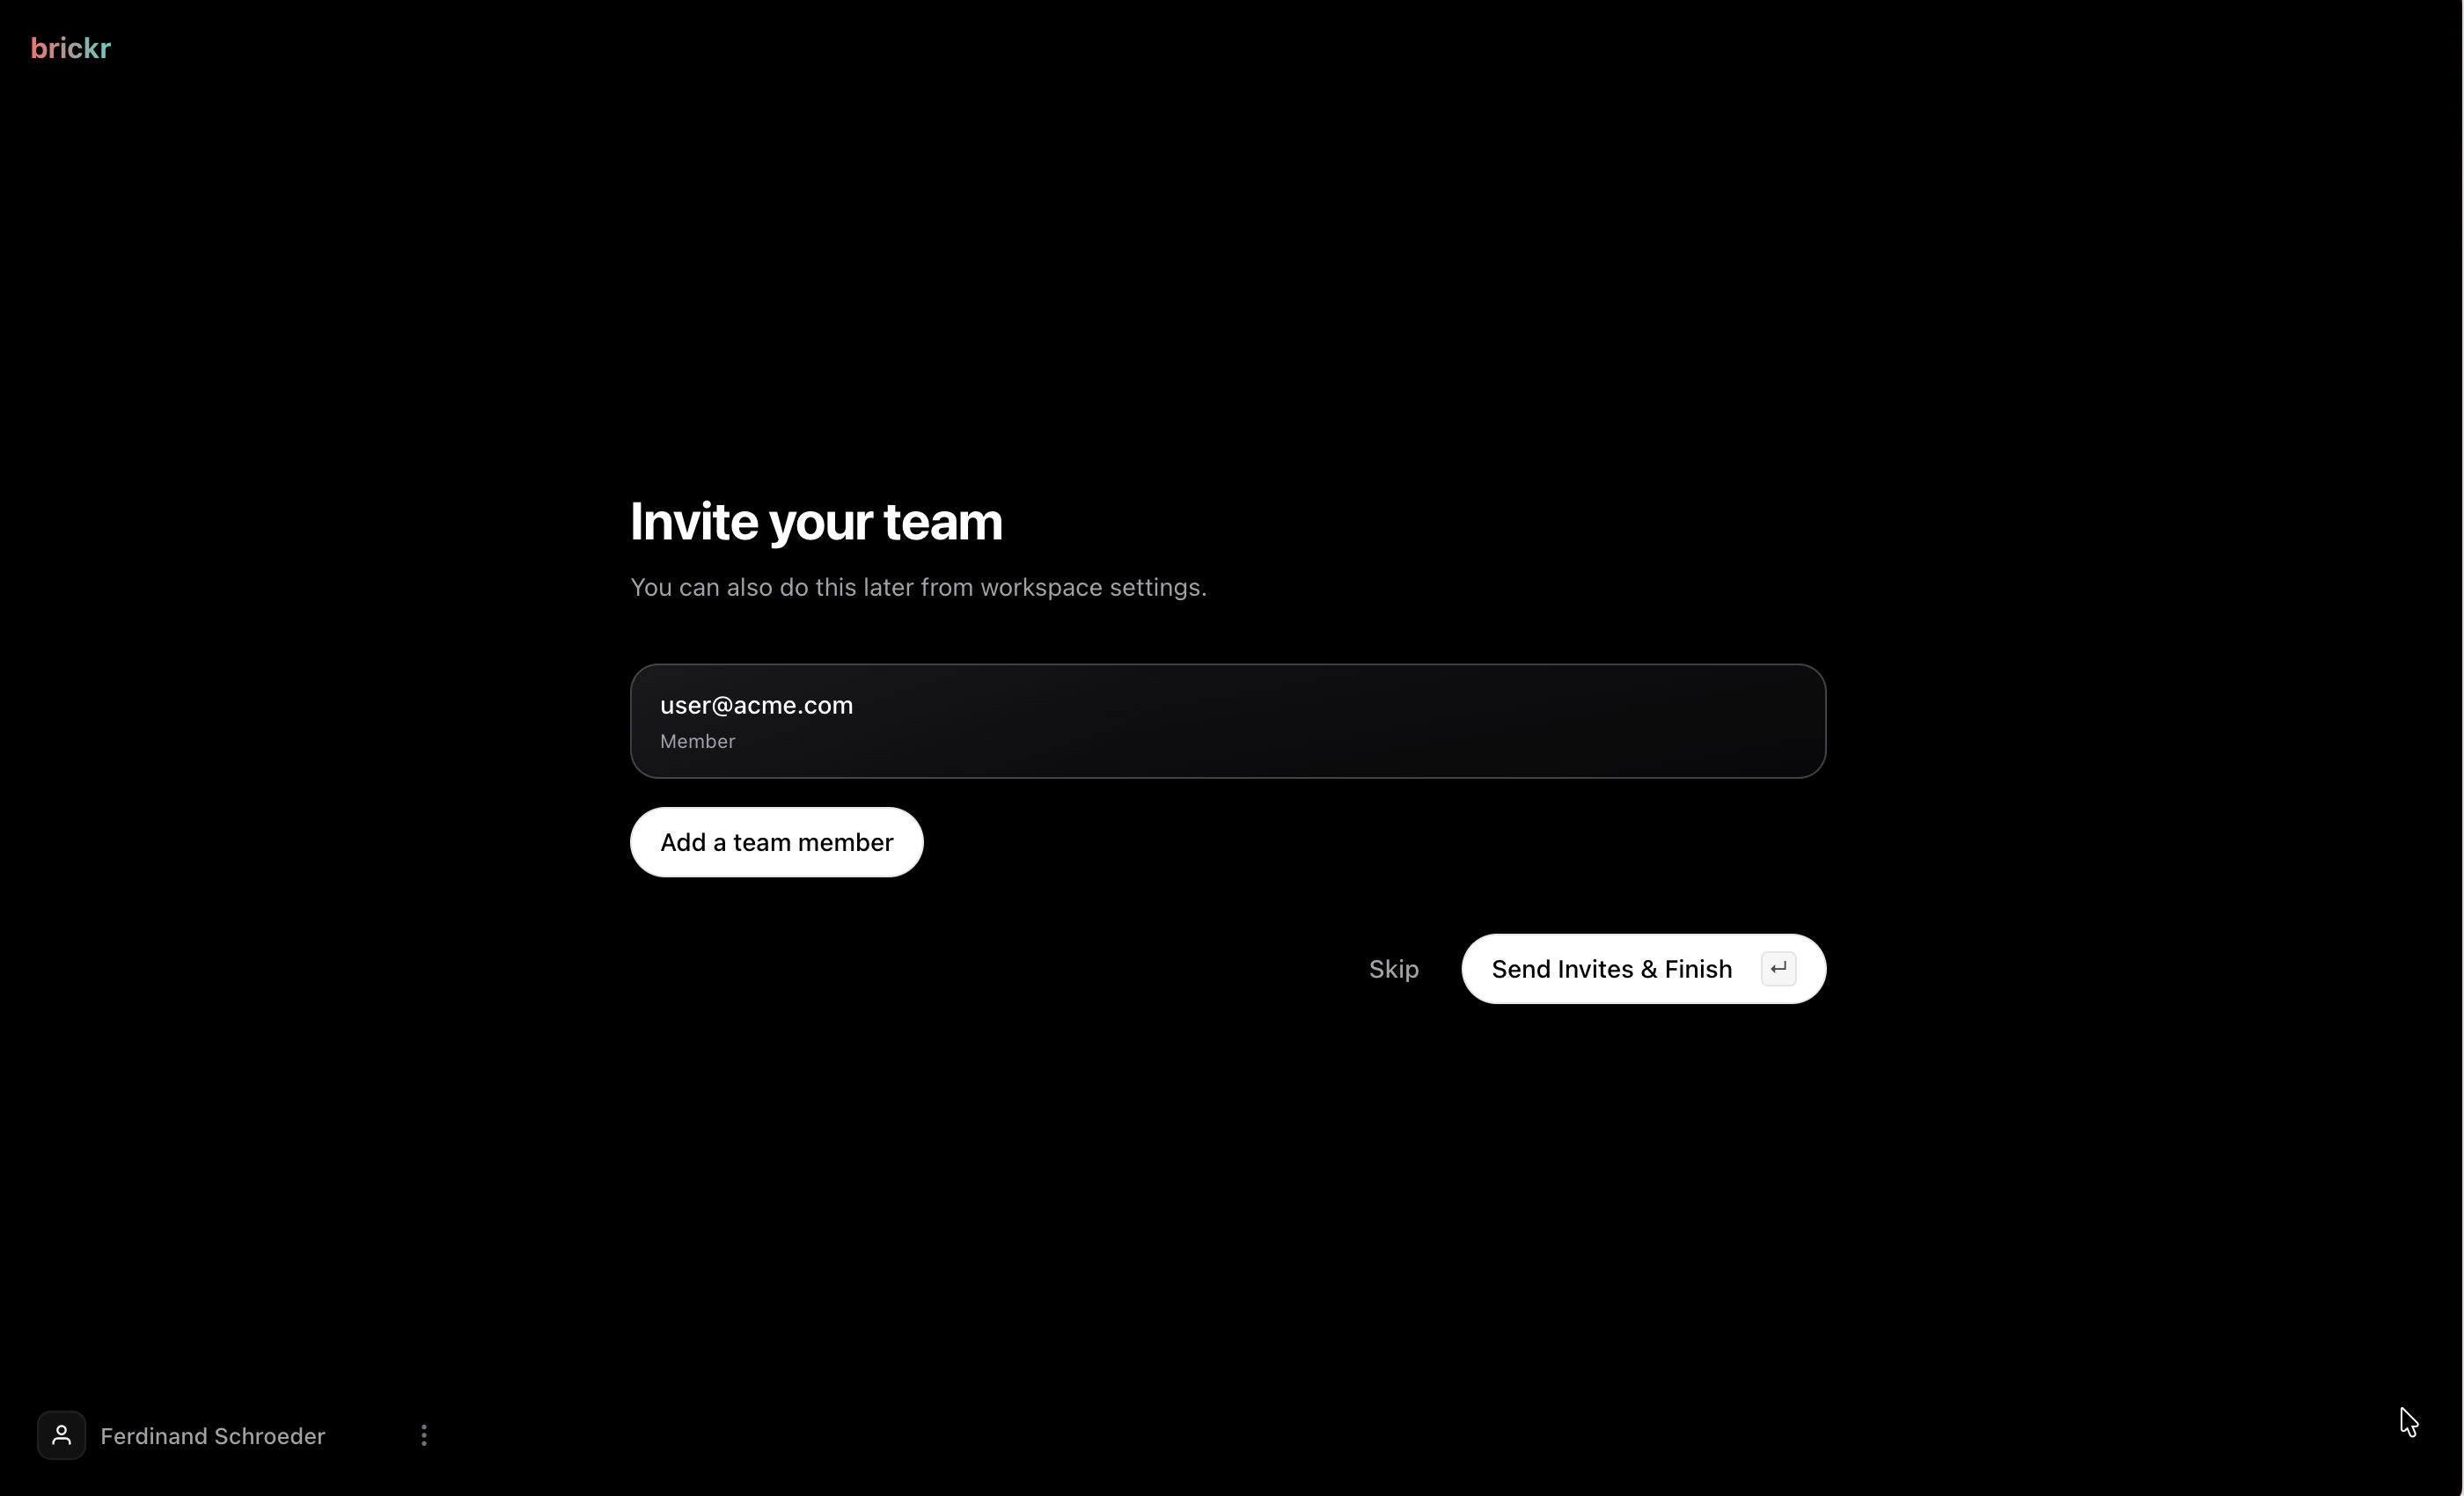
Inviting a member
1. Click Invite Member. 2. Enter the person's email address. 3. Select the permissions you want to grant. 4. Send the invite.
The invited person receives an email with a link to join your workspace.

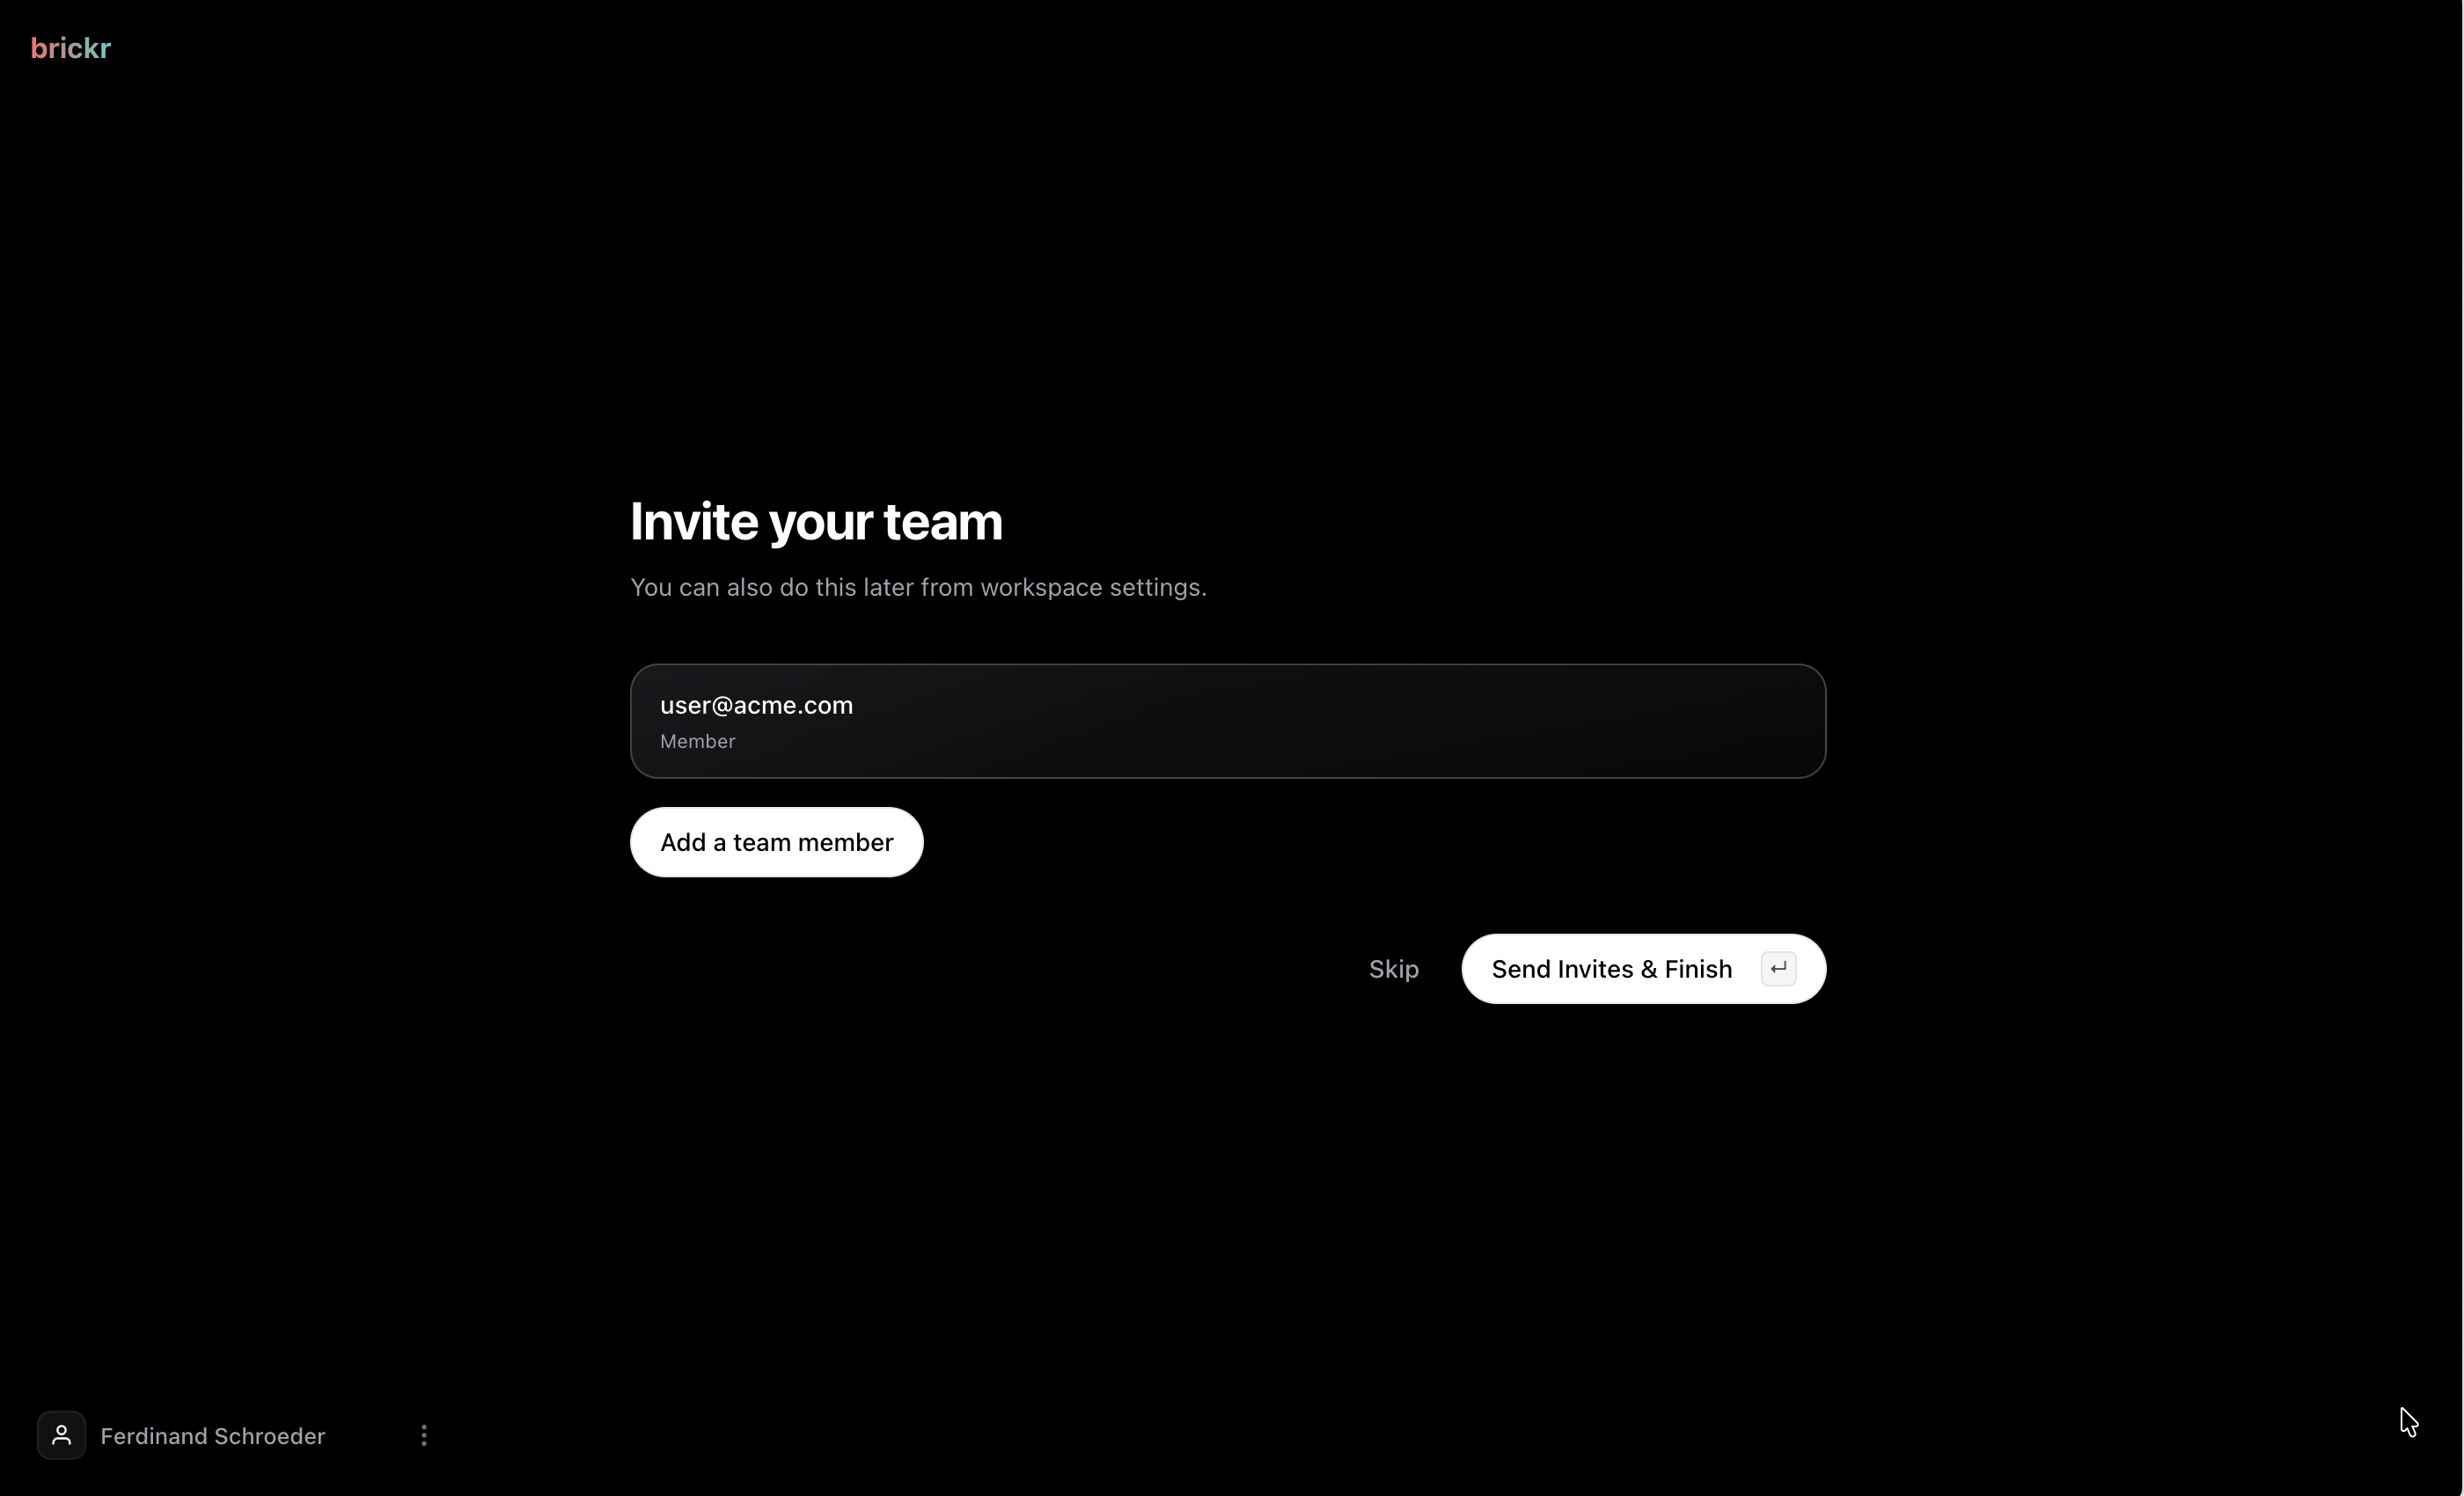
!Invite flow during onboarding
Your plan determines how many members you can invite. The current count is shown next to the member limit.
Permissions
Each member can be granted granular permissions across different areas:
Resource permissions
For each resource type (APIs, Routes, Analytics, AI), you can grant:
| Permission | Description | |------------|-------------| | View | Can see the resource | | Create | Can create new items | | Edit | Can modify existing items | | Delete | Can remove items |
Admin permissions
These permissions are for workspace-level management:
| Permission | Description | |------------|-------------| | Manage Members | Can invite, edit, and remove members | | Manage Billing | Can view and change the subscription plan | | Manage Settings | Can change workspace settings and secrets |
Editing permissions
1. Find the member in the list. 2. Click the edit button next to their name. 3. Adjust their permissions. 4. Save.
Only the workspace owner and members with the Manage Members permission can invite or edit other members.
What's next?
| Topic | Description | |-------|-------------| | Workspace | Workspace settings | | Settings | Account settings | | Secrets | Manage workspace secrets |