Form Triggers
> Connect forms to routes so that submissions automatically trigger backend logic.
When a form is submitted, Brickr can run one or more routes in response. There are two types of route connections:
- Function route -- A single route whose response is returned directly to the person who submitted the form.
- Trigger routes -- Additional routes that run in the background after submission.
Function route
A form can have one function route. This is the route that handles the submission and sends a response back to the user.
Default function route
Every form gets an auto-generated function route when it is created. This default route:
- Stores the submission in Brickr
- Returns
{ success: true, submissionId: "..." }to the submitter
The route is placed in the API you selected when creating the form, with the path /{form-name}-submit. You can open it in the Builder to customize the response -- for example, return a confirmation page using Web Elements, add validation logic, or send data to an external service before responding.
Changing the function route
You can replace the default function route with any other route in your workspace:
1. Open your form in the Form Builder. 2. Scroll to the Routes Using This Form section in the form settings. 3. Find the route you want to use as the function route. 4. Click the menu on that route and select Set as function route.
The function route is marked with a special icon. Only one route can be the function route at a time.
What the function route receives
The function route's Start Node receives the submitted form data as an object. Each key is a field name and each value is what the user entered.
Use Get Property or Split Object nodes to extract individual field values in your flow.
What the function route returns
Whatever your function route returns is sent back to the form submitter. This can be:
- A JSON response (using a Return JSON node)
- An HTML page (using web element nodes and Return Website)
- A redirect to another URL
Trigger routes
In addition to the function route, a form can trigger any number of background routes. These run after the submission is stored but do not affect what the submitter sees.
Adding a trigger route
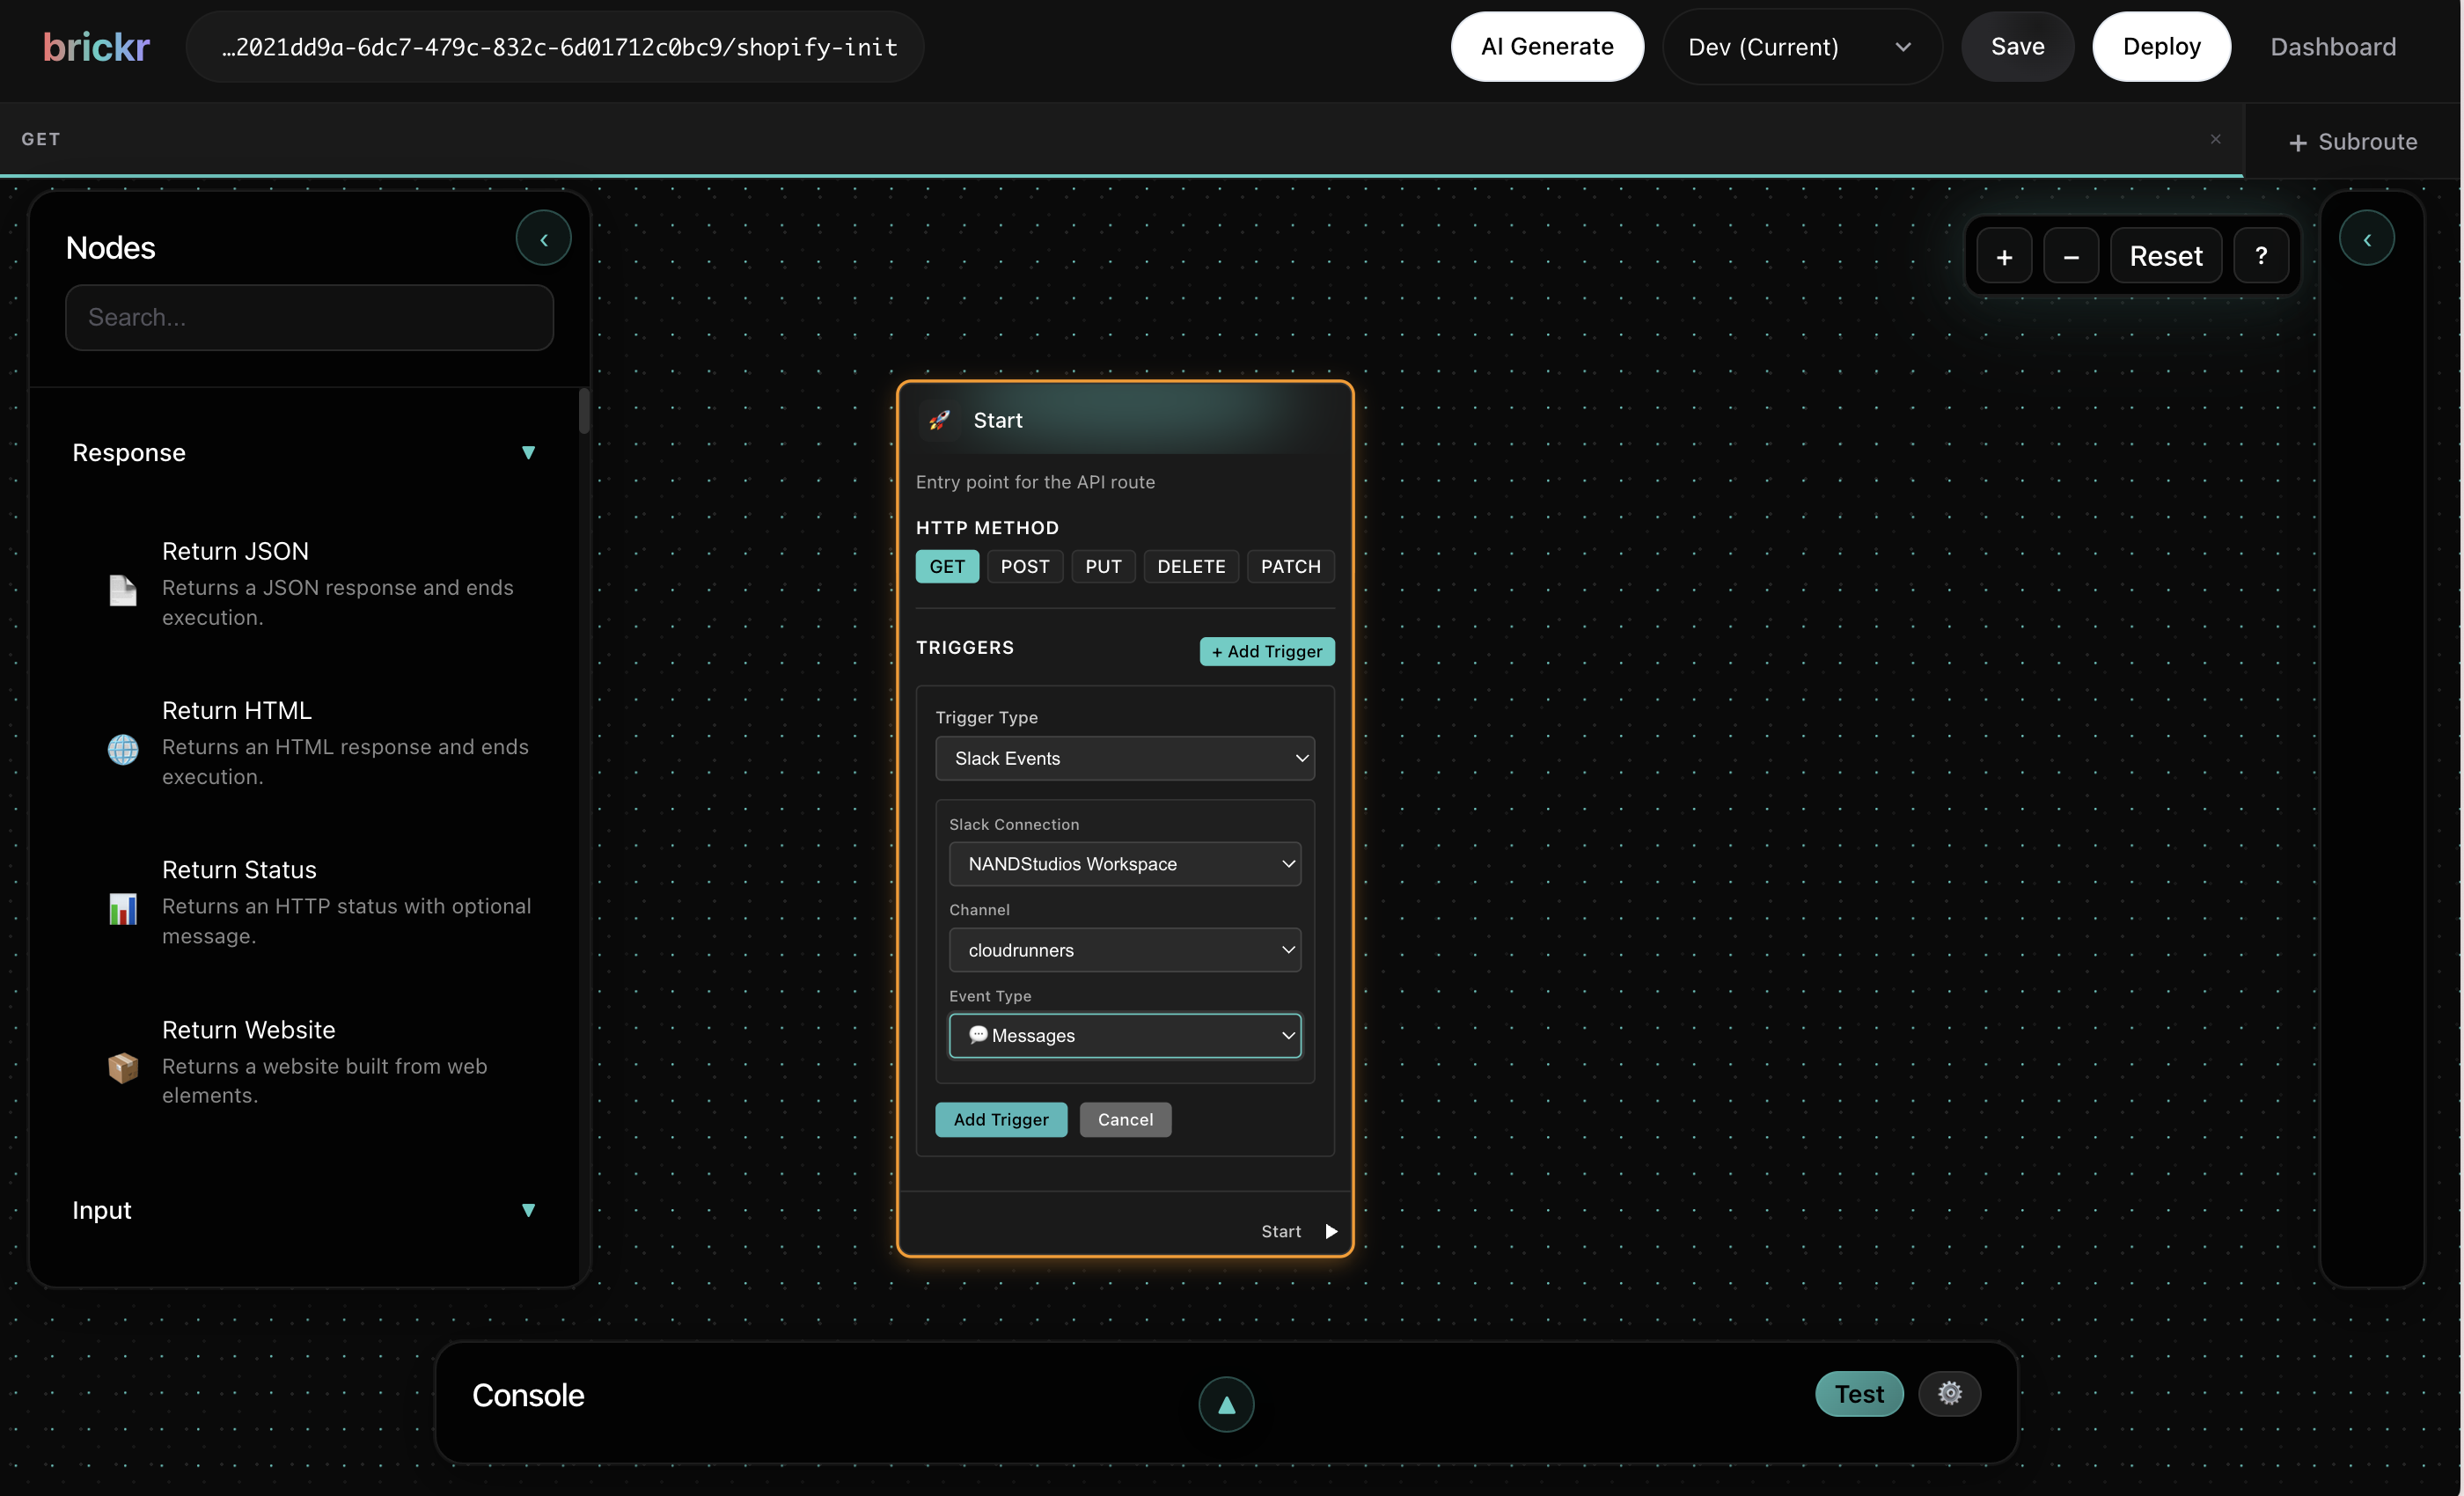
Trigger routes are configured from the route side, not the form side:
1. Open the route you want to trigger in the Builder. 2. Click the Start Node. 3. In the Triggers section, click Add Trigger. 4. Select Form Submission as the trigger type. 5. Choose the form from the dropdown. 6. Save the route.
Now this route runs in the background every time that form is submitted.
Use trigger routes for tasks that do not need to send a response to the user -- like saving data to a database, sending notification emails, or calling external APIs.
Multiple trigger routes
A single form can have many trigger routes. Each one runs independently. If one fails, the others still execute and the submission is still stored.
Example: Contact form with confirmation email
1. Create a form with fields: name, email, message. 2. Create a function route that returns a "Thank you" HTML page using web element nodes. Set it as the function route in the form settings. 3. Create a trigger route that sends a notification email to your team with the submitted data. Add a Form Submission trigger in its Start Node.
When someone submits the form:
- They see the "Thank you" page (from the function route).
- Your team gets an email (from the trigger route, running in the background).
Viewing connected routes
To see all routes connected to a form, open the form in the Form Builder and look at the Routes Using This Form section. This shows every route that has a Form Submission trigger for this form, and which one (if any) is the function route.
What's next?
| Topic | Description | |-------|-------------| | Webhooks | Trigger routes from external services | | Cron Jobs | Schedule routes to run on a timer | | Submissions | View and manage submission data | | Web Elements | Build HTML response pages for your function route |