Introduction to the Builder
> The Builder is the core visual editor where you create API logic by connecting nodes on a canvas.
The Builder is where all API logic comes to life in Brickr. Instead of writing code, you construct flows by placing nodes on a canvas and connecting them with wires. Each node performs a specific operation -- reading from a database, transforming data, sending a response -- and the connections between them define how data and execution move through your API.
Opening the Builder
To open the Builder, click on any route from the Dashboard. This opens the visual editor with the route's flow loaded on the canvas.
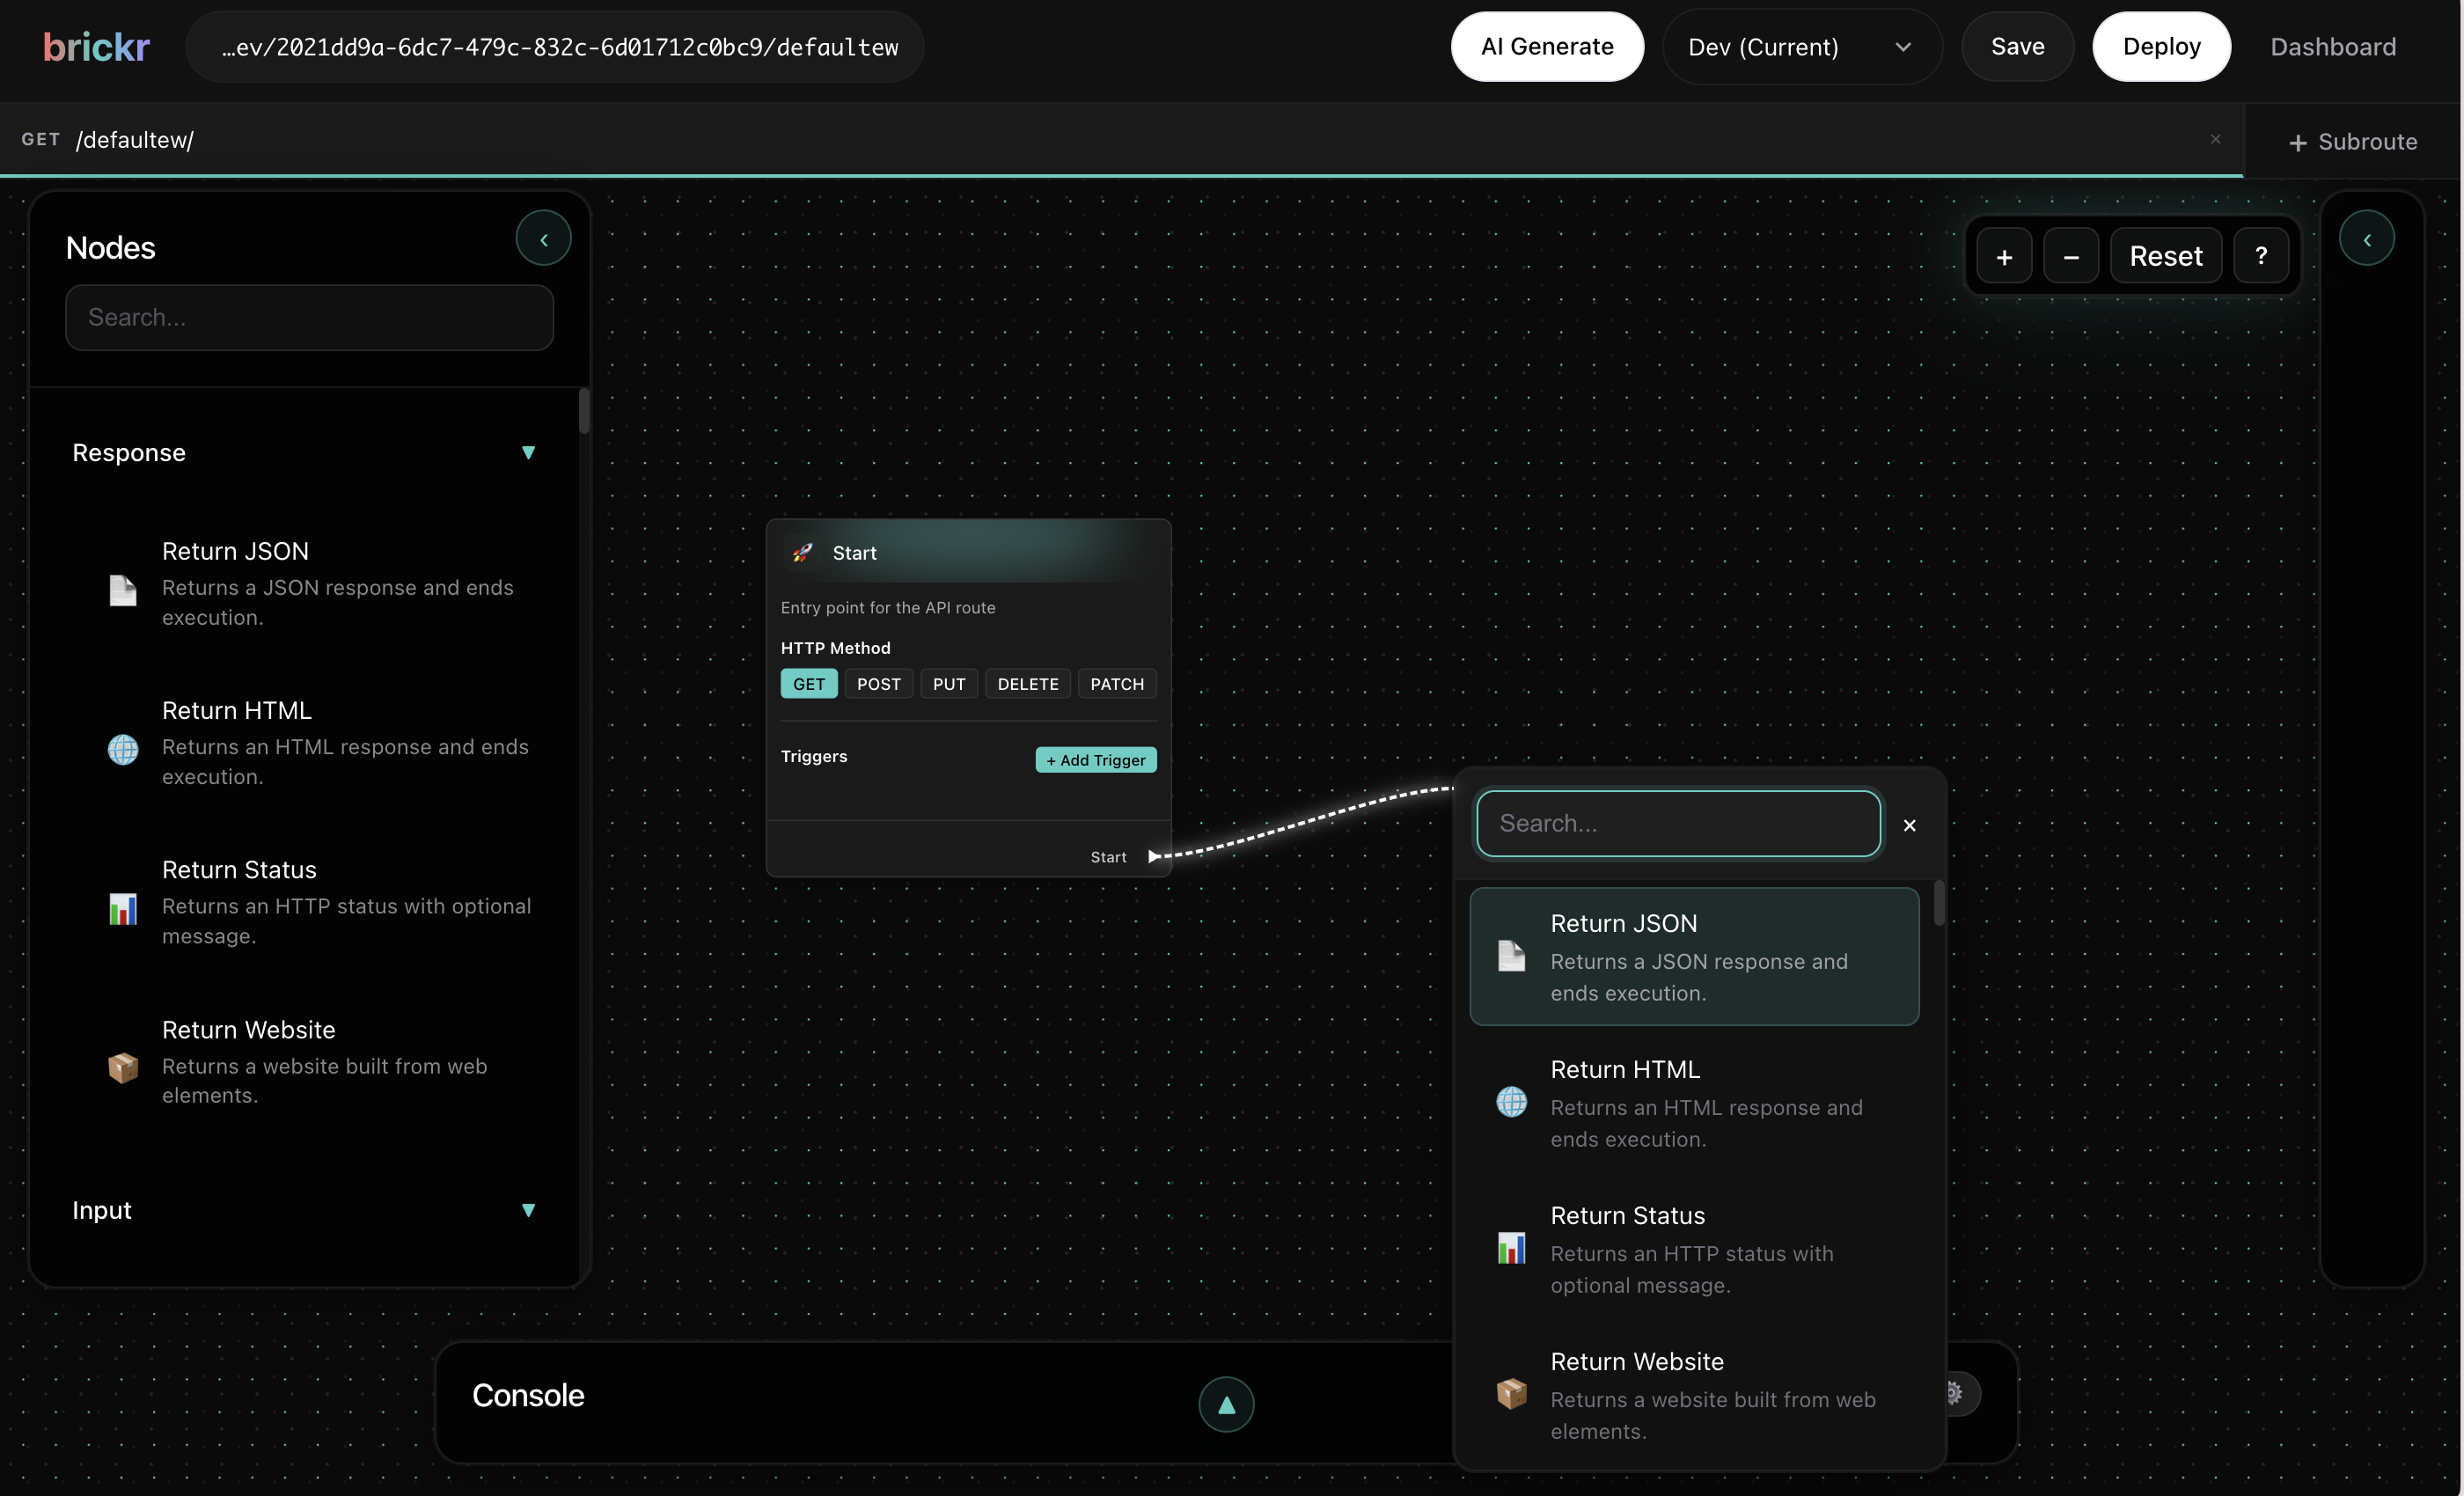
If the route is new, you will see an empty canvas with a single Start Node already placed. This is the entry point of every route.
The canvas
The canvas is your workspace inside the Builder. It is an infinite, pannable surface where you place and arrange nodes.
- Pan the canvas by clicking and dragging on an empty area, or by holding the middle mouse button.
- Zoom in and out using the scroll wheel or the zoom controls in the toolbar.
- Fit the entire flow into view using the fit button in the toolbar.
You can arrange nodes however you like. The layout does not affect execution -- only the connections between nodes matter.
The Start Node
Every route and function begins with a Start Node. This node represents the entry point of your flow and cannot be deleted.
For routes, the Start Node provides access to the incoming request data:
- Query parameters -- values passed in the URL query string
- Path parameters -- dynamic segments defined in the route path (e.g.,
:id) - Body -- the request body for POST and PUT requests
- Headers -- the incoming HTTP headers
The Start Node also has a sequence output, which defines where execution begins.
The Start Node is automatically created when you open a new route or function. You do not need to add it manually.
Sequence flow
Execution in Brickr follows a sequence -- a chain of nodes connected by sequence wires. Sequence wires are the white dashed connections that flow from the top-right of one node to the top-left of the next.
Sequence determines the order in which nodes execute. A node will not run until the node before it in the sequence has completed.
1. Execution starts at the Start Node. 2. It follows the sequence wire to the next node. 3. That node executes, then passes control to the next node in the sequence. 4. This continues until there are no more sequence connections.
Not every node needs to be part of the sequence chain. Data-only nodes (like math or string operations) execute automatically when their output is needed by a sequenced node.
Connecting nodes
Nodes communicate through pins -- the small pins on the left and right sides of each node.
- Output pins are on the right side of a node.
- Input pins are on the left side of a node.
To connect two nodes, drag from an output pin to a compatible input pin. The Builder enforces type safety -- you can only connect pins of matching or compatible types.
Use the Type System page for the current wire color legend. The important rule is simple: the wire color always reflects the value type, and sequence pins stay white.
If a connection is not allowed, the wire will not snap to the target pin. This means the types are incompatible. Check the pin types and use a conversion node if needed.
Basic workflow
A typical workflow in the Builder follows these steps:
1. Open a route from the Dashboard. 2. Add nodes by dragging from a pin or right-clicking the canvas to open the quick menu. 3. Connect nodes by dragging wires between pins. 4. Configure nodes by clicking on them and editing their properties in the side panel. 5. Save your flow using the save button in the toolbar. 6. Deploy to make your changes live.
What's next?
| Topic | Description | |-------|-------------| | Visual Editor | Master the editor interface and shortcuts | | Routes | Create and configure API routes | | Functions | Build reusable logic with functions | | Nodes | Explore all available node types |