Working with Routes
> Routes are individual API endpoints. Each route has an HTTP method, a URL path, and a visual flow that defines its behavior.
A route is the fundamental building block of any API in Brickr. When someone calls your API, the request is matched to a route based on the HTTP method and path, and the route's flow executes to produce a response.
Creating a route
1. Navigate to Dashboard > APIs and select an api (or create one first). 2. Click Create Route. 3. Choose an HTTP method and enter a path. 4. Click Create to open the route in the Builder.
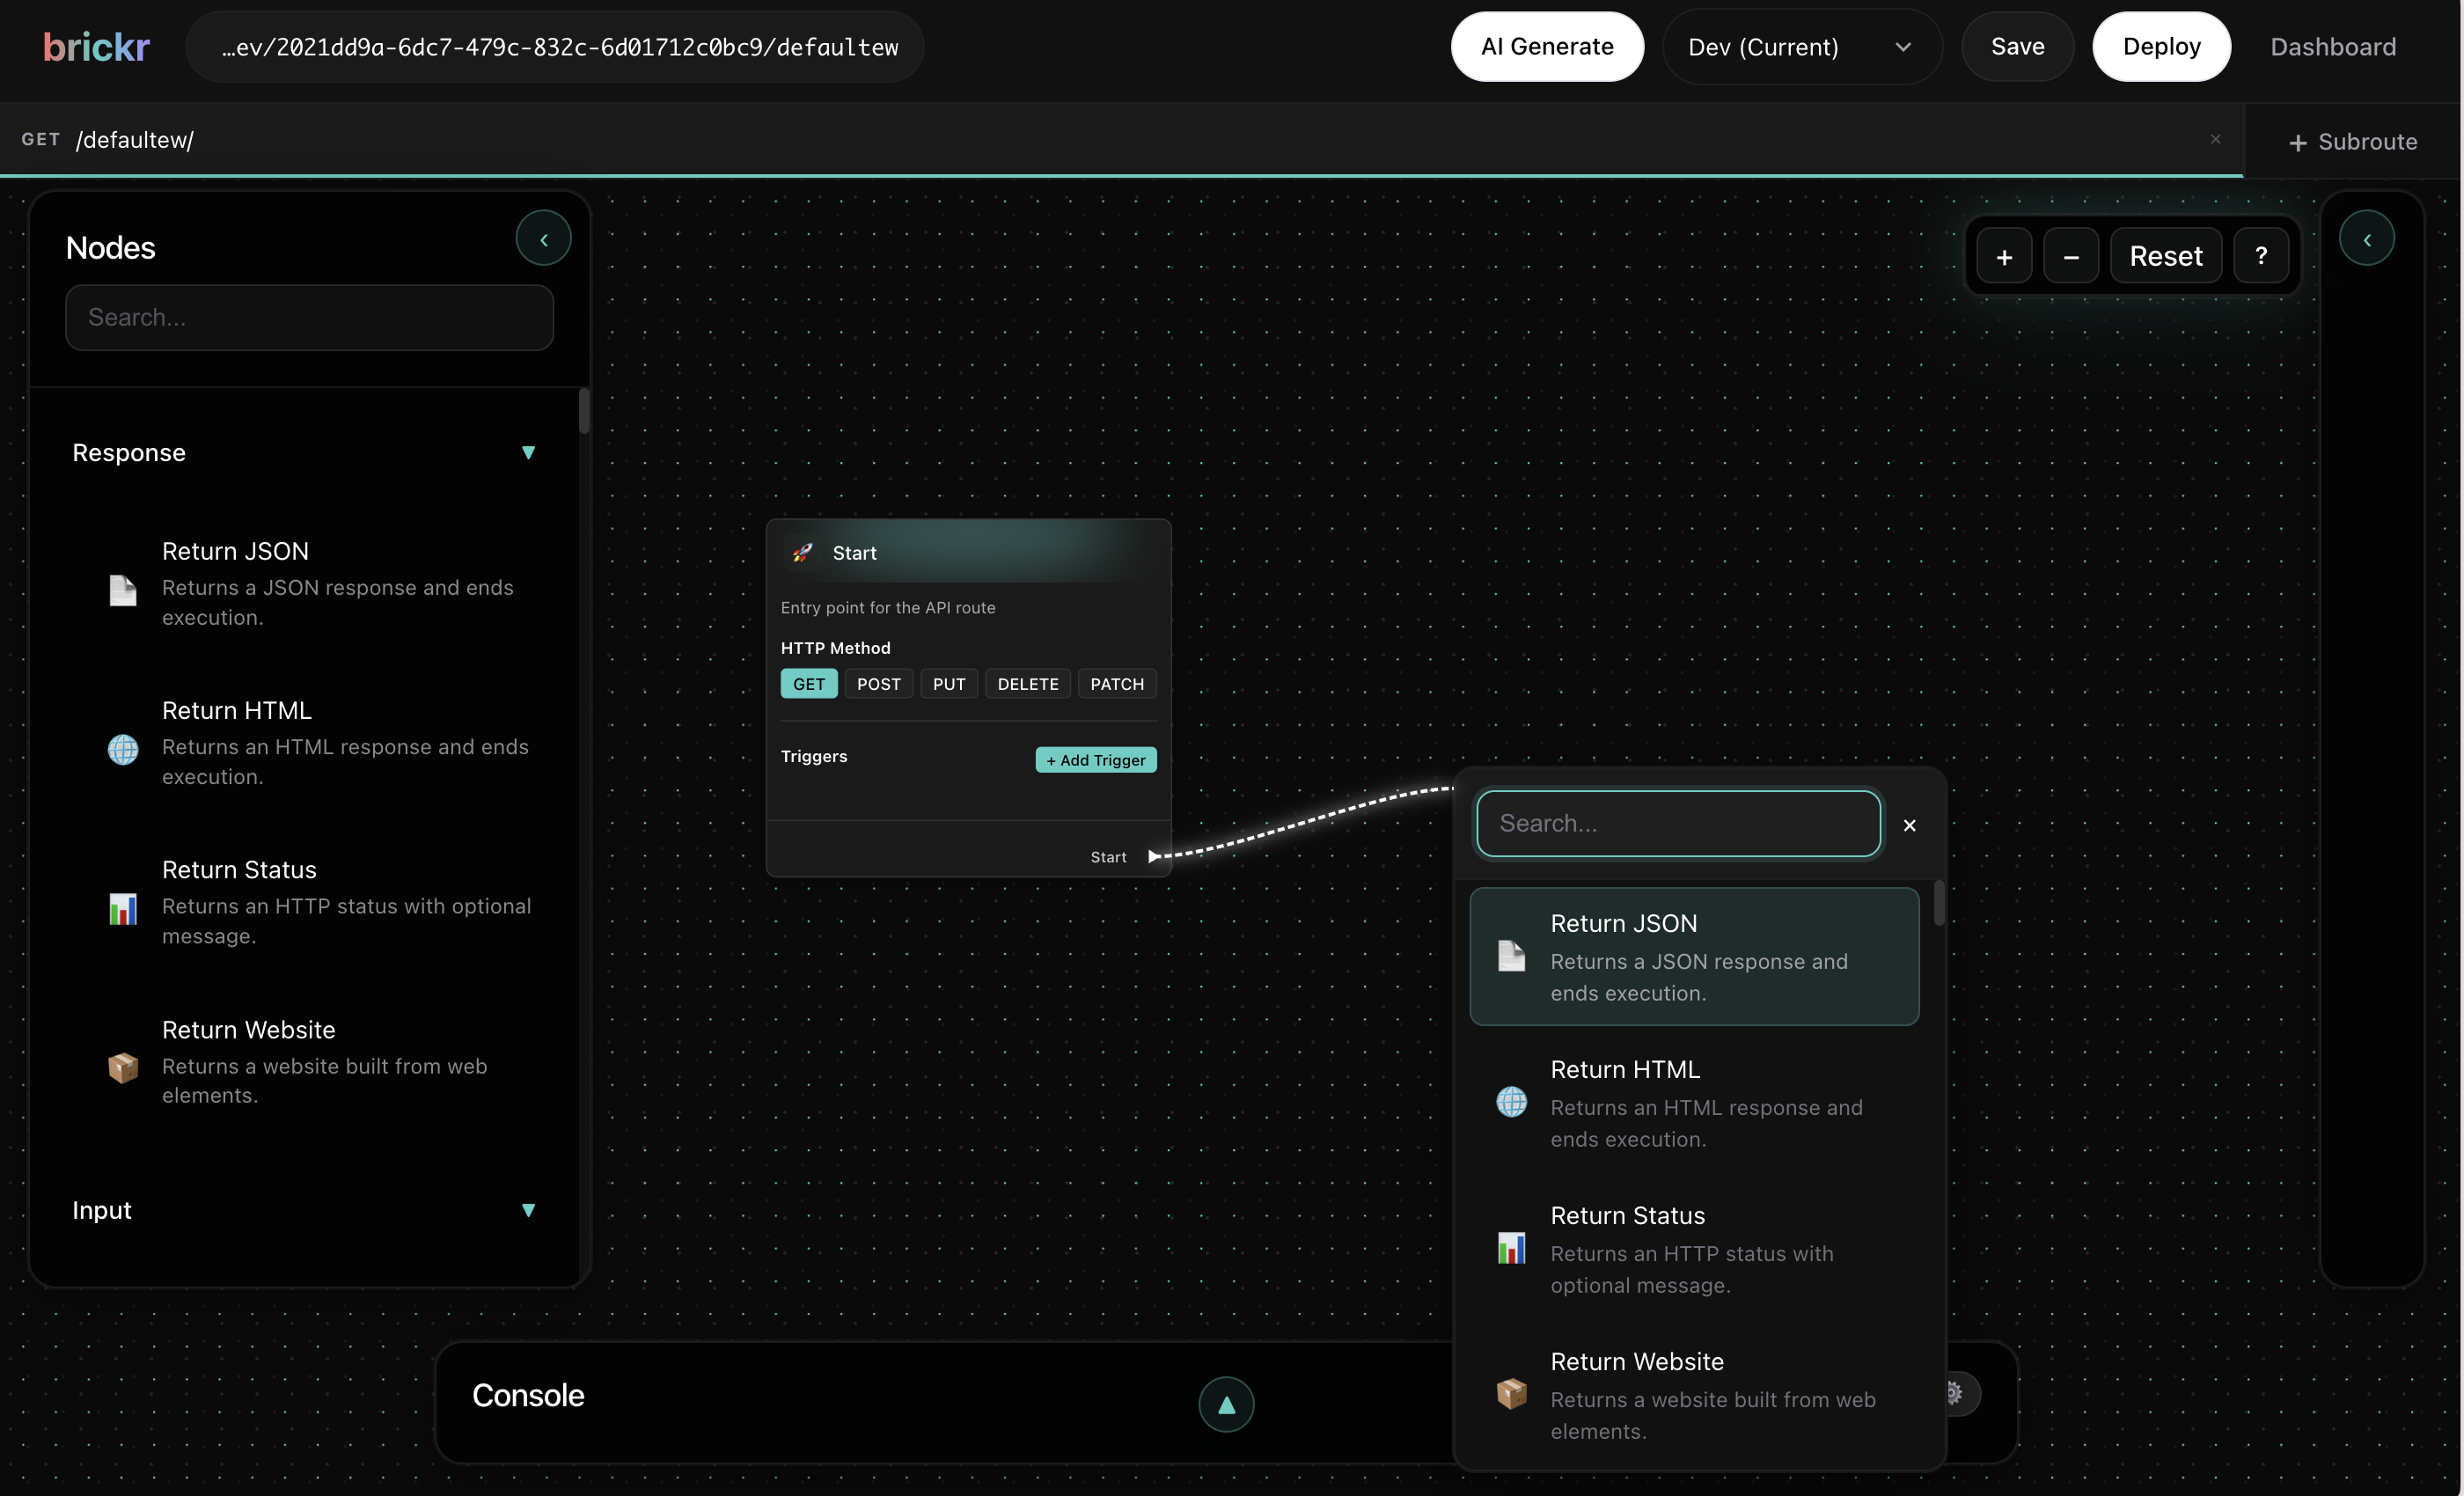
The new route will have an empty canvas with a Start Node ready for you to build out the logic.
HTTP methods
Each route is assigned an HTTP method that determines when it is triggered:
| Method | Purpose | Common use | |--------|---------|------------| | GET | Retrieve data | Fetching records, listing items | | POST | Create data | Submitting forms, creating records | | PUT | Update data | Modifying existing records | | DELETE | Remove data | Deleting records |
Choose the method that best matches the operation your route performs. This follows standard REST conventions and makes your API easier to understand for consumers.
Path parameters
Route paths support dynamic segments using the :param syntax. These segments match any value in that position of the URL and make it available in your flow.
For example, a route with the path /users/:id will match:
https://app.brickr.dev/my-workspace-id/my-api/users/1https://app.brickr.dev/my-workspace-id/my-api/users/abchttps://app.brickr.dev/my-workspace-id/my-api/users/some-uuid
The value of :id is accessible from the Start Node as a path parameter. You can use multiple path parameters in a single route:
/teams/:teamId/members/:memberId/projects/:projectId/tasks/:taskId
Path parameter names must be unique within a route. Using the same name twice will cause unexpected behavior.
Query parameters
Query parameters are key-value pairs appended to the URL after a ? character. Unlike path parameters, you do not need to define them in the route path -- they are automatically available from the Start Node.
For a request to /users?page=2&limit=10, the Start Node provides:
pagewith value2limitwith value10
Query parameter values are always strings. Use a type conversion node if you need to work with them as numbers or other types.
The route URL
Every deployed route is accessible at a predictable URL:
https://app.brickr.dev/{workspace-id}/{api-base-path}/{route-path}For example, if your api has the base path /my-api and your route path is /users/:id, the full URL would be:
https://app.brickr.dev/my-workspace-id/my-api/users/42Saving and deploying
Building a route and making it live are two separate steps:
Save
Click the Save button in the builder toolbar (or use the keyboard shortcut) to persist your flow. Saving stores your work but does not make the route live. You can save as often as you like while working.
Deploy
Click the Deploy button to publish the saved version of your route. Once deployed, the route is live and will respond to incoming HTTP requests.
Deploying overwrites the currently live version of the route. If you need to test changes before going live, consider creating a separate test route.
Testing routes
After deploying, you can test your route using any HTTP client:
Browser -- For GET routes, paste the URL directly into your browser address bar.
curl -- Use the command line:
curl https://app.brickr.dev/my-workspace-id/my-api/userscurl -X POST https://app.brickr.dev/my-workspace-id/my-api/users \
-H "Content-Type: application/json" \
-d '{"name": "Alice"}'HTTP clients -- Tools like Postman or Insomnia work well for testing all HTTP methods with headers and request bodies.
Check the route logs in the Dashboard to see request and response details, including any errors that occurred during execution.
Route settings
Each route has additional settings you can configure:
- Description -- A human-readable description for your reference.
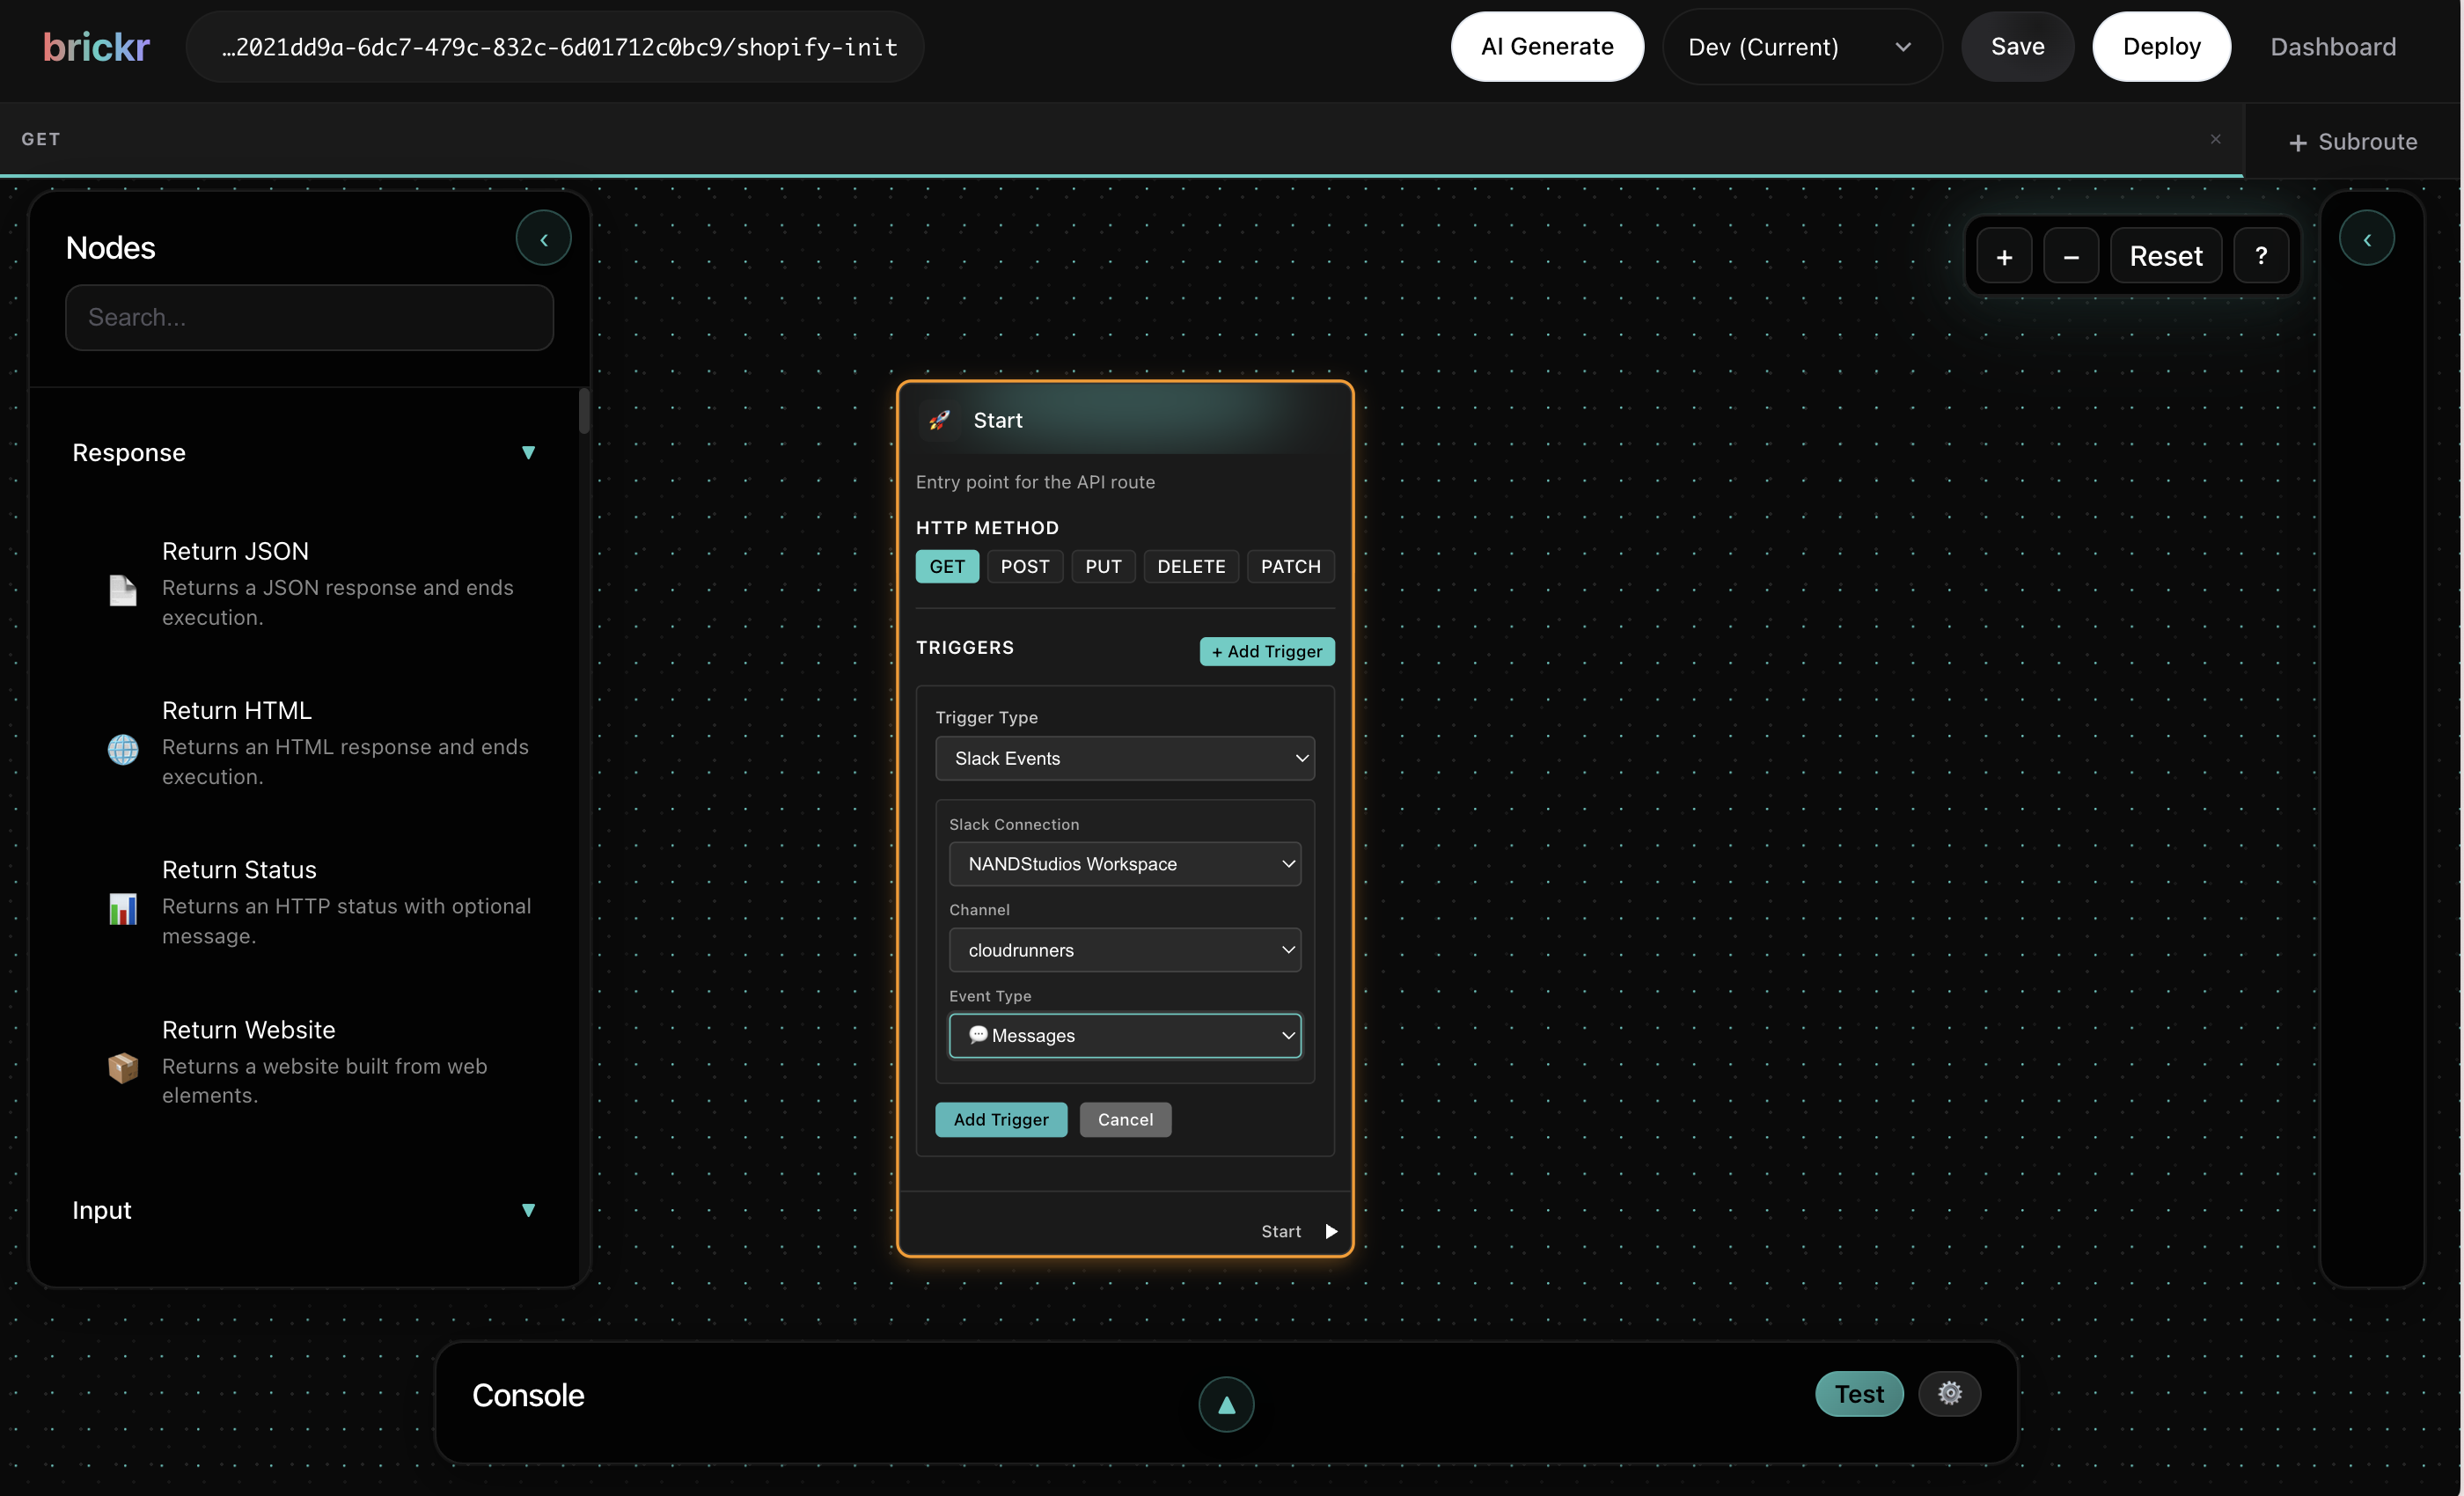
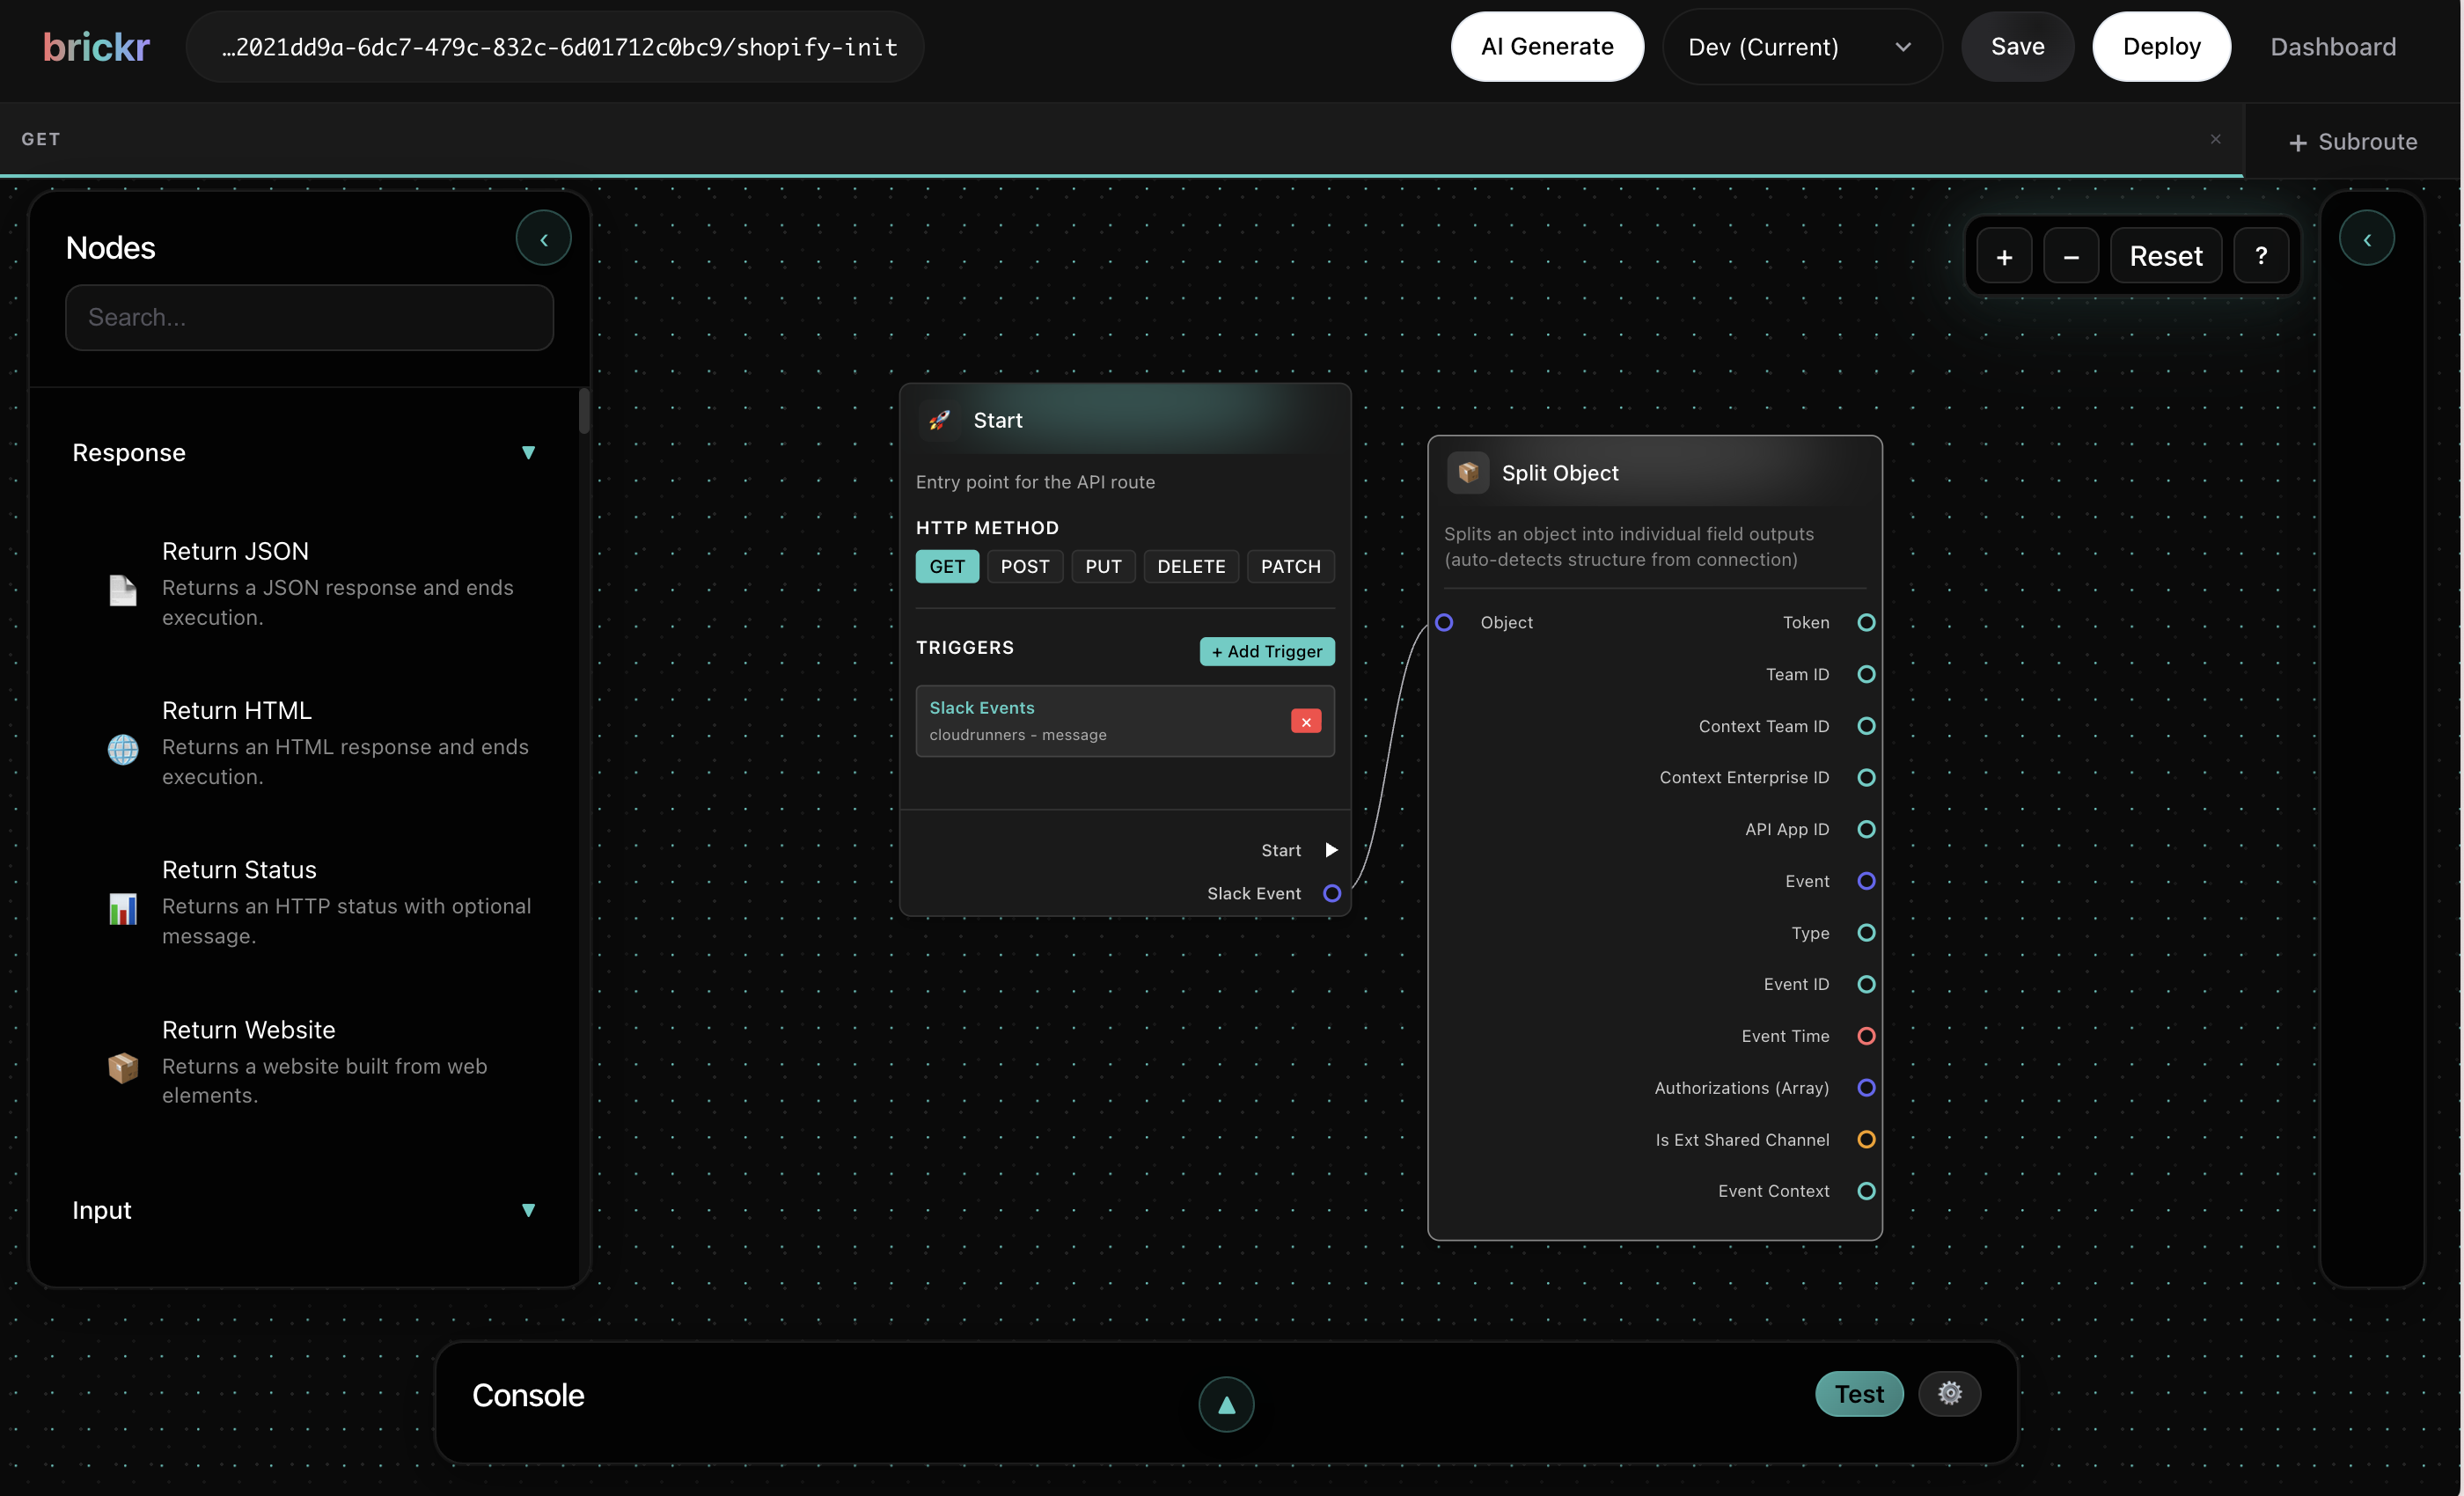
- triggers -- Configure triggers like form submissions or cron schedules that automatically invoke the route.
- Authentication -- Require an API key or other authentication for the route.
!Trigger configuration in Start Node
What's next?
| Topic | Description | |-------|-------------| | Functions | Extract reusable logic into functions | | Visual Editor | Master the editor controls and shortcuts | | Nodes | Explore available nodes for your flows |